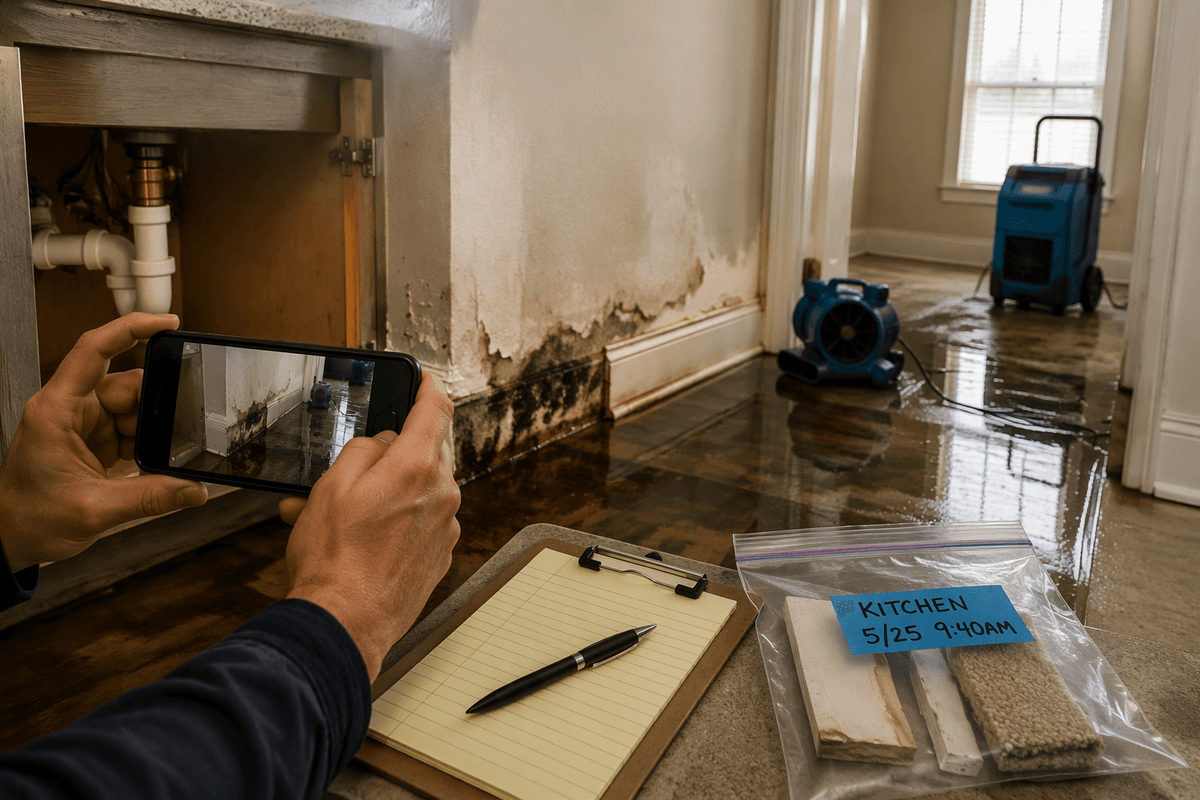
Water on the floor, repairs calling your name
The water isn’t politely pooling in one spot. It’s creeping under baseboards, darkening the edge of the rug, and turning the next few hours into a pressure test. A plumber can be there “sometime this afternoon,” a restoration crew wants a yes right now, and the first instinct is to start ripping out anything that feels ruined.
But there’s a second clock running: the one that decides what gets reimbursed and what gets called “pre-existing” or “not related.” Moving fast still matters, but so does leaving a clean trail of what happened, when it happened, and what you did about it—before the room looks different.
First hour triage: safety, stop the source, stabilize
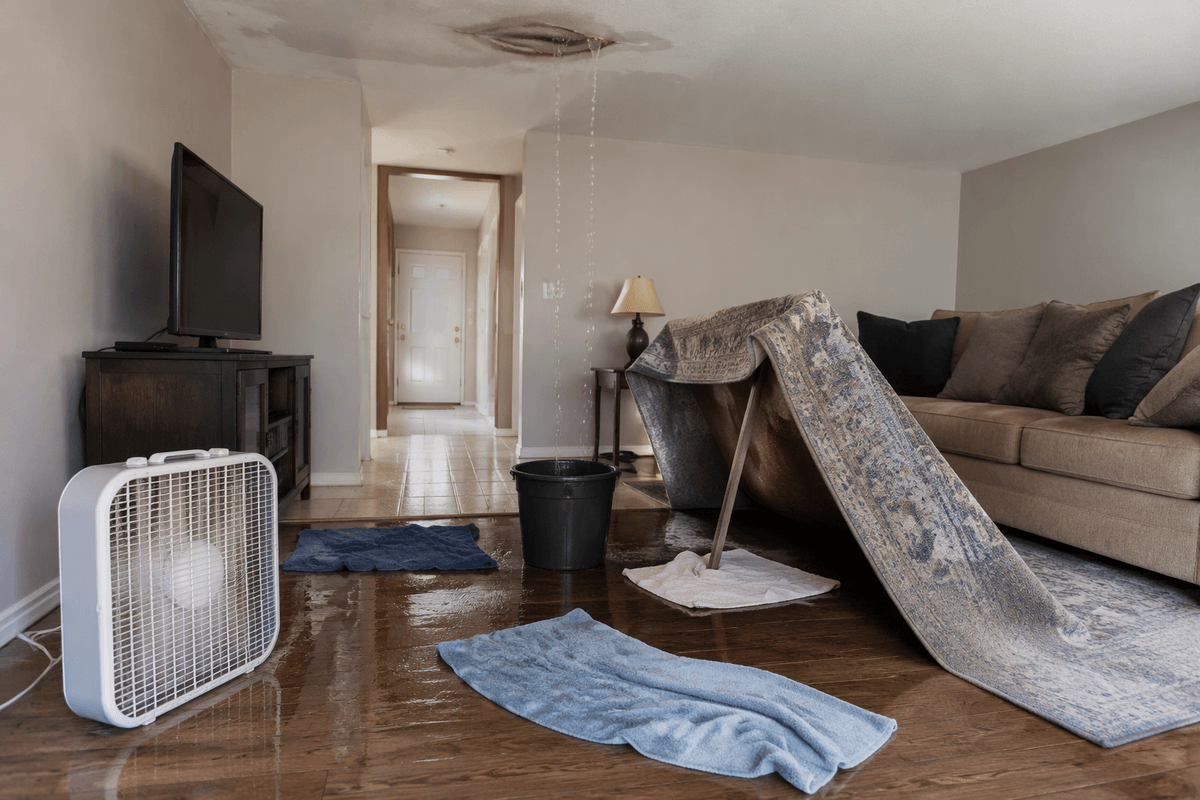
The first calls aren’t about drywall; they’re about risk. If water is anywhere near outlets, power strips, or a panel, shut off the circuit before stepping into it. Gas water heater nearby, or a ceiling bulge that’s growing? Treat that as a “stop and reassess” moment, not a DIY sprint. The constraint is time, but the bigger one is getting hurt and then having to explain why the scene changed in a panic.
Once it’s safe to be in the room, stop the source in the simplest way you can defend later: shut the main, close the fixture valve, kill the dishwasher supply, whatever actually applies. Take a quick photo of the shutoff position and the active leak if it’s visible. Then stabilize: move what you can to a dry zone, pull up rug edges, place towels or a bucket, and get airflow going. Don’t start tearing out materials yet; this hour is about halting spread while the “before” condition is still clear.
The constraint: you must move fast, but prove it
By the time help arrives, the room can’t look like a blank slate. Adjusters and vendors don’t argue about “wet,” they argue about what was wet, how far it traveled, and what changed after. The pressure is that drying needs to start immediately, yet the proof gets harder with every fan you set up and every item you carry out. If you wait for permission, damage spreads. If you act without a record, the scope gets questioned.
So treat documentation like part of mitigation, not paperwork after. Before anything comes out, take wide shots from each doorway, then slow down and capture the waterline on walls, swollen baseboards, buckled flooring, and any staining on ceilings below. Do a 30-second video walking the path of the water while saying the date, time, and what you believe caused it. Keep a simple notes thread: who you called, when they answered, what they told you, and what you did next. Speed is fine—missing timestamps is what turns “necessary” into “optional.”
Build your evidence set in one focused pass
Now that the water is stopped and the room is stable, the temptation is to “start saving the house.” Give yourself one deliberate pass first, because once baseboards are pried off or carpet is rolled back, the cleanest proof is gone. The constraint is simple: drying can’t wait, but your best evidence expires fast.
Start wide, then go tight. Photograph each wall from corner to corner, then close-ups of damage with a reference (a tape measure, a coin, even a sticky note with the date). Get the source area, the path the water took, and the farthest point it reached. Open cabinets, closets, and any ceiling below and shoot what you see before it gets “disturbed.” Capture model/serial plates on appliances involved, and the shutoff you used. If a pro is coming, take a photo of their business card and the truck, then ask them to text you a brief cause note.
Drop everything into one folder the same day: photos, the short walk-through video, a running log of calls, and every receipt (fans, dehumidifier rental, plumber, dump fees). Label files by room and time. That small organization step is what keeps “we can’t tell what this is” from becoming your claim’s theme.
Contents and personal property: decide what to save
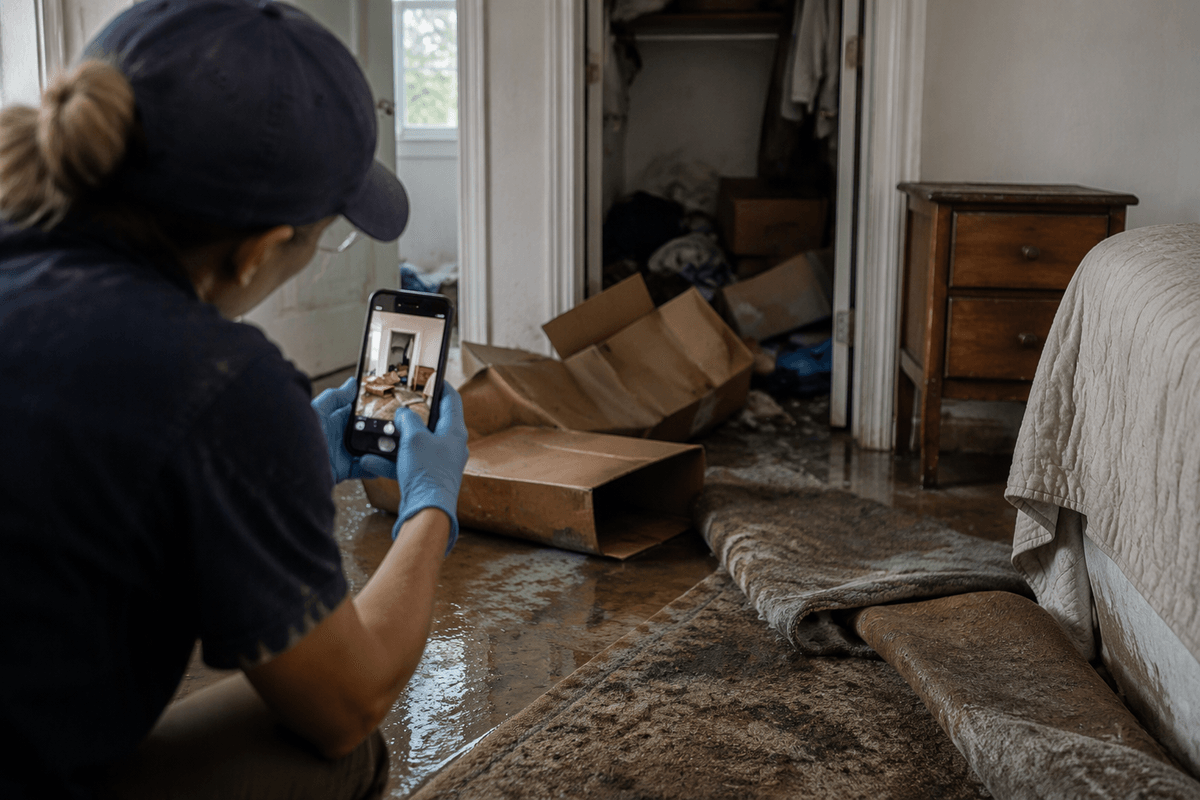
Once the structure is captured, the next squeeze is the stuff: wet rugs, warped nightstands, boxes from the closet. The mistake I see most is tossing “obviously ruined” items into the dumpster before anyone agrees they were ruined. Make a quick keep/toss/unknown split, but treat “toss” as “hold for now.” Photograph each item where it sits, then again in a dry staging area with a simple label (room name and a number on painter’s tape). If you have receipts, grab them, but don’t lose time hunting—take photos of brand tags and any distinguishing damage.
Health and timing still matter. If something is contaminated or starting to smell, bag it, move it outside or to a garage, and keep a small sample if the whole item can’t be stored. For soaked soft goods, don’t pay for specialty cleaning until you’ve asked whether it’s covered; get a written yes or plan to eat that bill. The goal isn’t to save everything—it’s to prove what you couldn’t save, without turning cleanup into a coverage argument.
Workarounds: emergency mitigation without losing reimbursement
The room still has to dry, even if nobody has “approved” anything yet. The workable middle ground is to do the things that stop secondary damage, while keeping them easy to justify later. Run fans and a dehumidifier, pull toe-kicks off vanities to get air behind them, and lift carpet edges if water clearly traveled underneath—but avoid permanent choices like full drywall cuts or tossing cabinetry until you’ve at least logged the moisture line and taken “before” shots. If you’re renting equipment, photograph the meter readings and the placement in the room, because that’s what turns “extra” into “necessary.”
When a vendor pushes for immediate demo, ask for a written scope labeled “emergency mitigation” and a separate line for “repairs/rebuild.” Pay attention to the timing constraint: hotels, pet boarding, and extra cleaning often start the same day, and those receipts disappear fast. Use one running note with date/time for every action, and keep packaging for any materials you buy. The workaround isn’t waiting—it’s acting in a way that stays legible after the scene changes.
New limitation: miscommunication can shrink your payout
By now you’ve probably told the story three different ways: to the plumber, the restoration crew, and whoever picked up at the claims line. That’s where payouts quietly get trimmed. One person writes “slow leak,” another hears “sudden burst,” and suddenly the file is tagged wrong before anyone even sees the room. The constraint is timing: you’re talking while you’re still mopping, and small wording slips can follow the claim for weeks.
Keep it boring and consistent. Use one short description in every message (“water supply line failed under the sink at 9:40 a.m., water reached the hallway threshold”) and correct misunderstandings immediately in writing. If you authorize work, repeat what you’re authorizing: “drying only, no rebuild, no demo beyond what’s necessary to access wet areas.” Then ask each vendor to email their scope and cause note the same day, because verbal agreements are where “we thought you wanted…” turns into “not covered.”
Your pre-repair checklist before tools come out
Before anyone swings a pry bar, slow the room down for ten minutes and run a simple checklist. Confirm the claim is opened and you have a claim number. Text or email the adjuster (or the claims inbox) the same short description you’ve been using, plus what you’re about to authorize: “drying/mitigation only today.” If a contractor wants a deposit, get an itemized, dated scope and a “not-to-exceed” cap in writing—open-ended time-and-material is where costs get challenged later.
Then lock your proof: last wide photos from each doorway, close-ups of the worst points, and one photo of every moisture reading or marked waterline you can see. Save samples of removed materials (a strip of baseboard, a piece of pad) in a trash bag with the room and date on tape. Start a single ledger for spend and time, and don’t let the dumpster leave until you’ve photographed what went into it.